Post by Tyrannax on Aug 10, 2009 12:14:17 GMT
I have put both of the Hyneria sculptures on hold temporarily as I begin progress on yet another Tyrannosaurus. However, the technique used for this armature is much different, as well as the pose itself (Which I find much more interesting than the original).
I will also try to explain the steps I have used to create this armature.
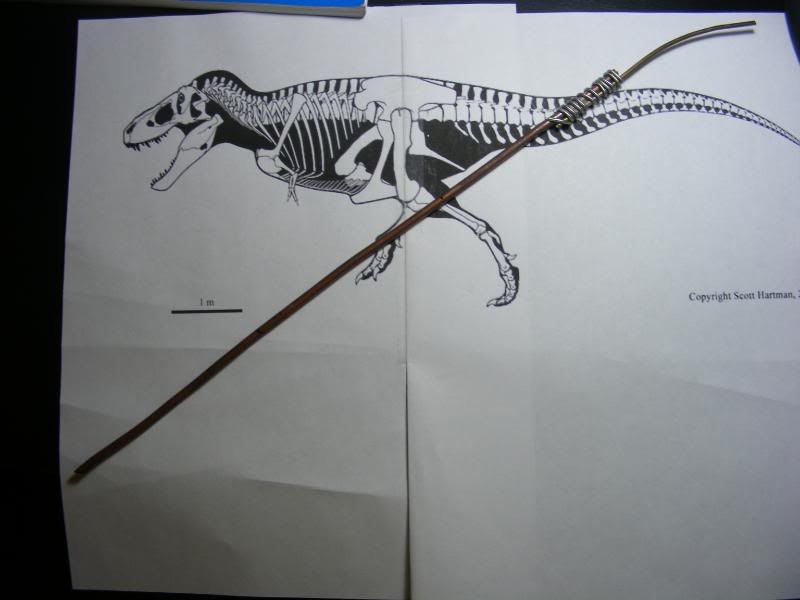
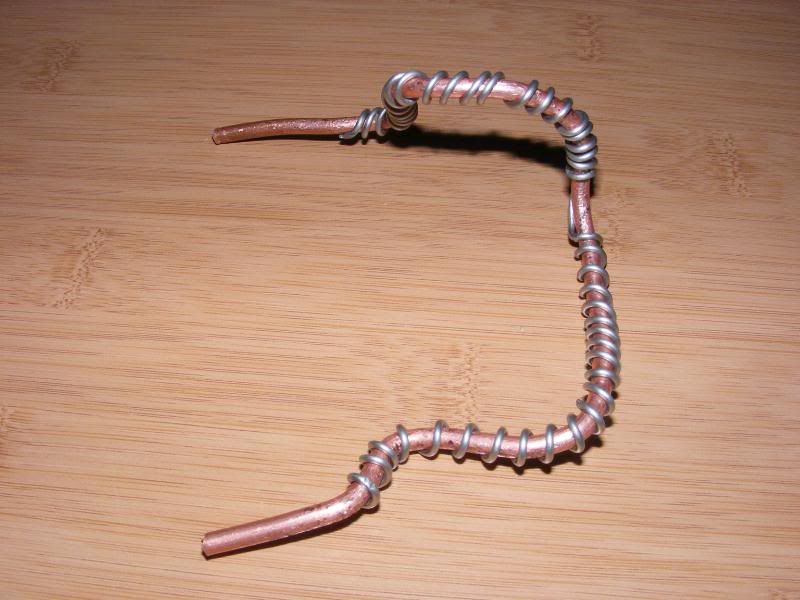
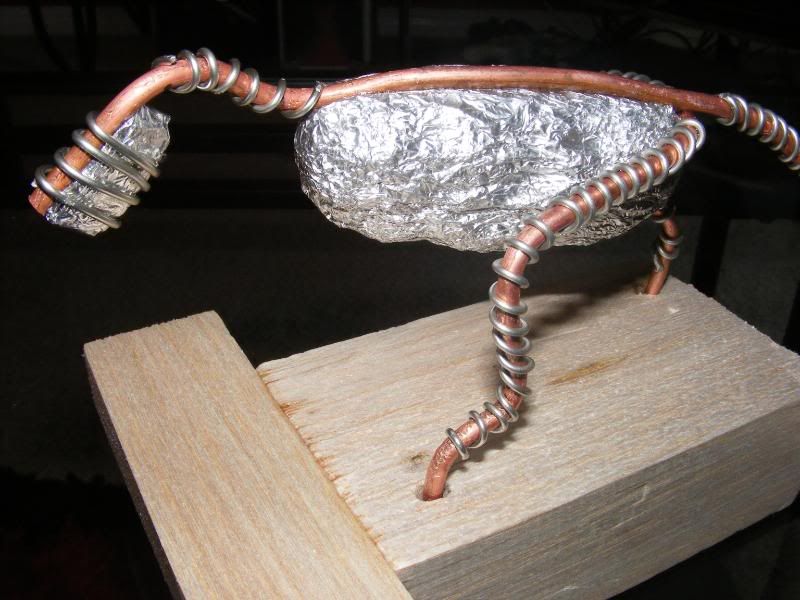
To start off this armature (which is quite different from Dinonikes; not to mention more time consuming and frustrating), I have cut a roll of brass wire down to 11 inches. This thick wire is much too large to continue on to the the tip of the tail, so I then cut 3 inches of thinner wire. Overlapping the thicker wire by 1 inch, I tie the thinner wire to the thicker by using soldering wire. (This means 2 inches of the thinner wire is hanging off, making the length of the armature 13 inches.)
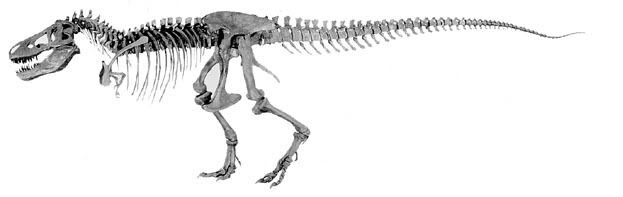
I use a skeletal representation for reference.
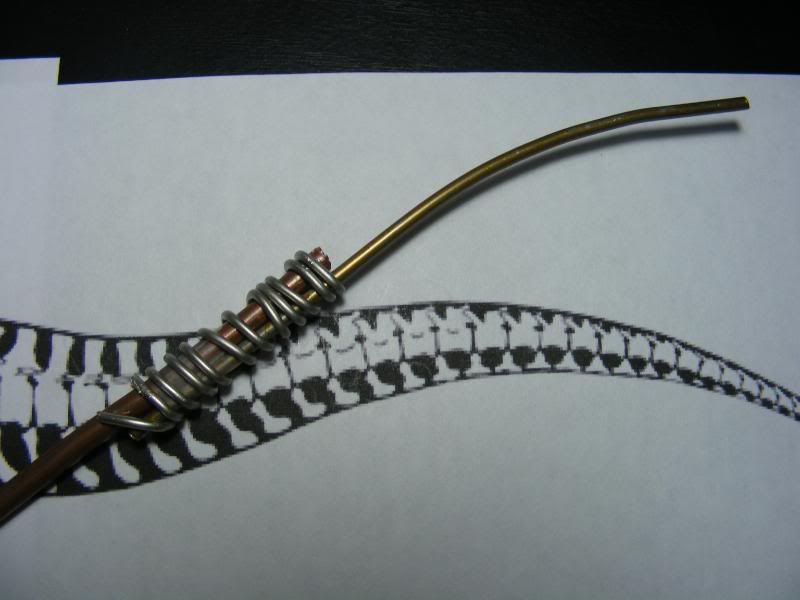
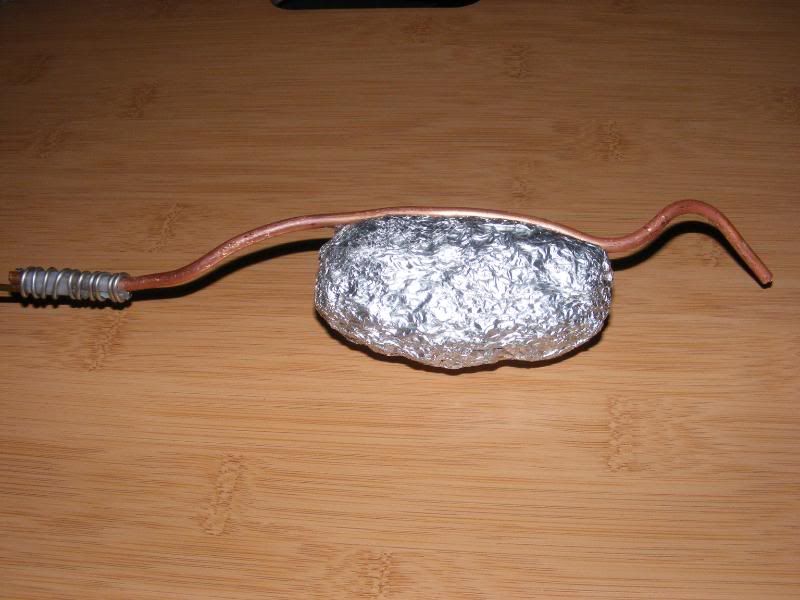
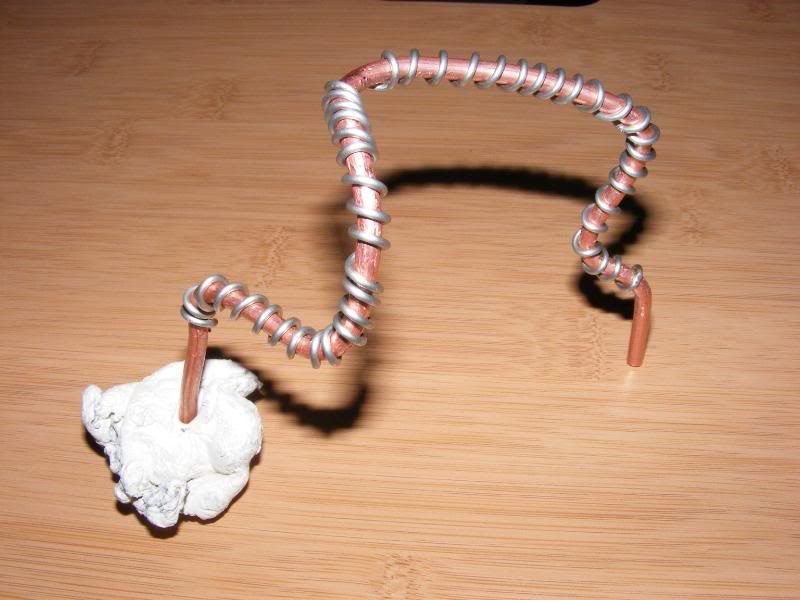
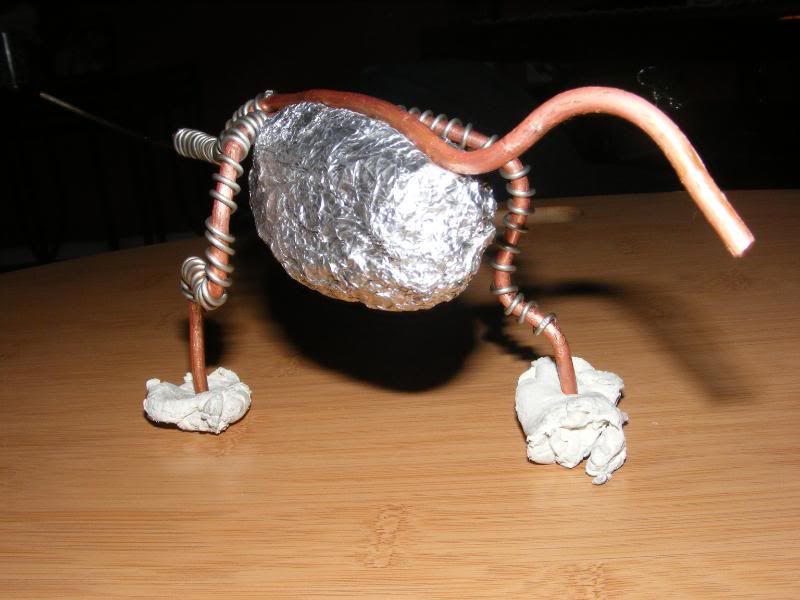
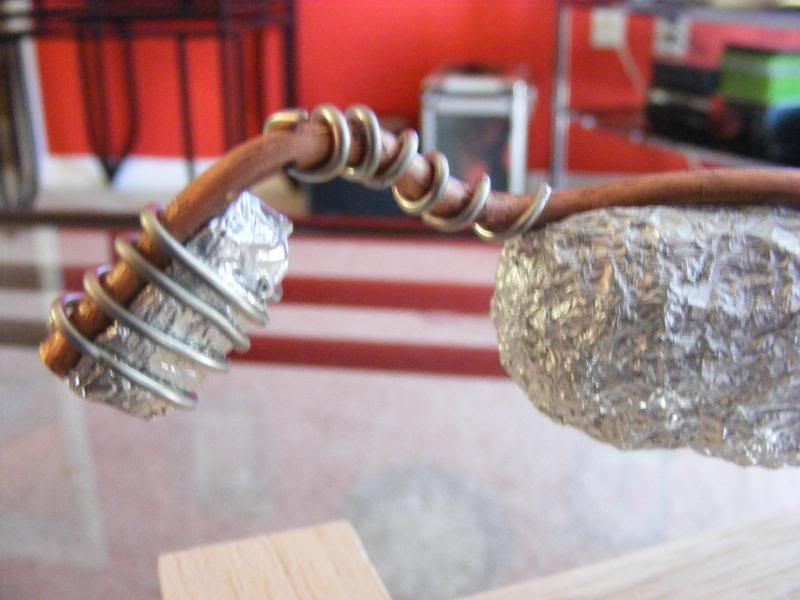
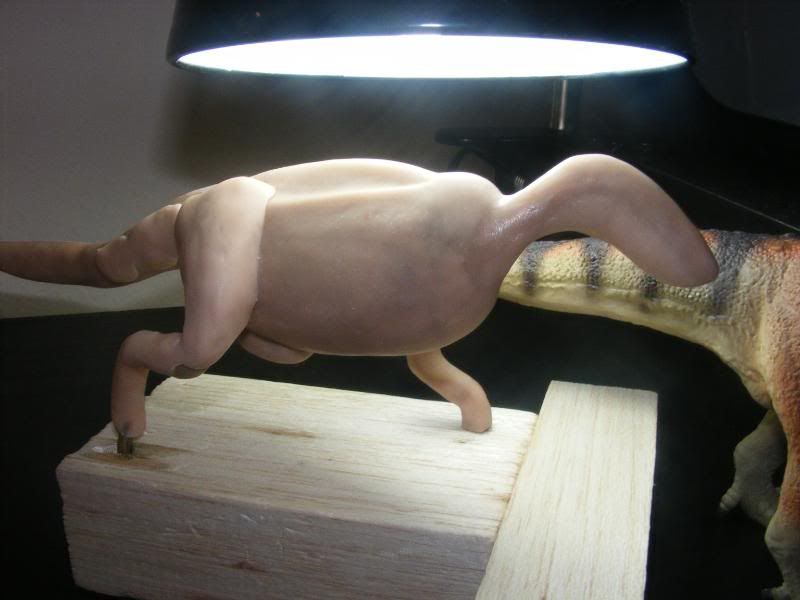
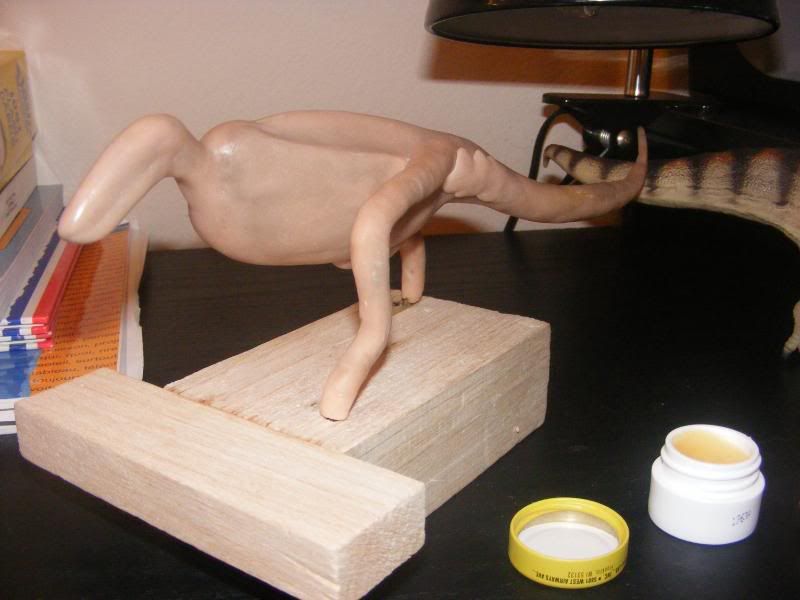
Now, I begin bending the wire into the desired shape. After doing this, I roll up a large ball of aluminum foil and super glue it to the wire. It will act as the bulk of the Tyrannosaur's gullet and chest. You can also use soldering wire to attach it.
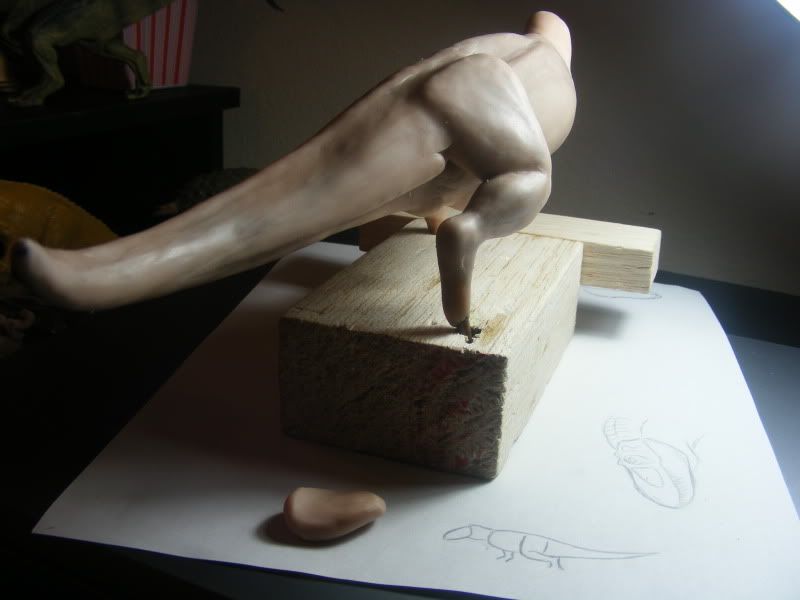
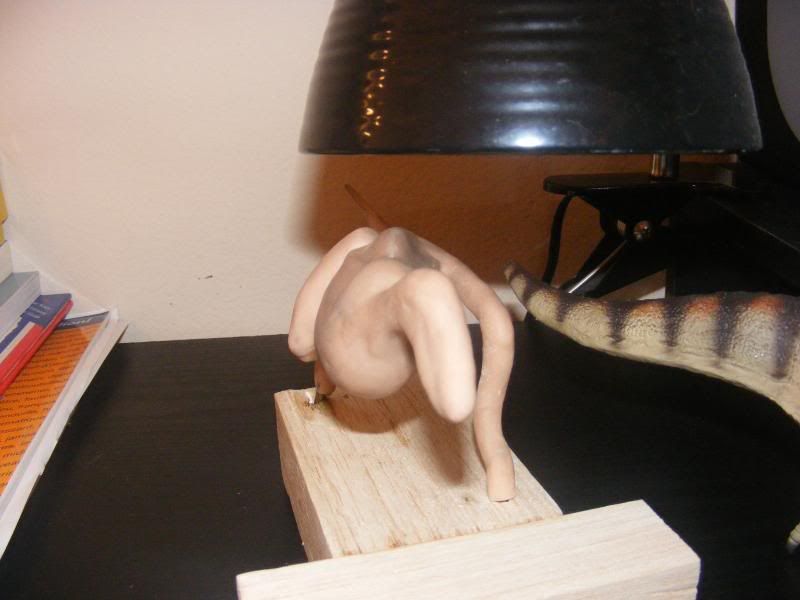
On to the most frustrating step of the armature: creating the legs.
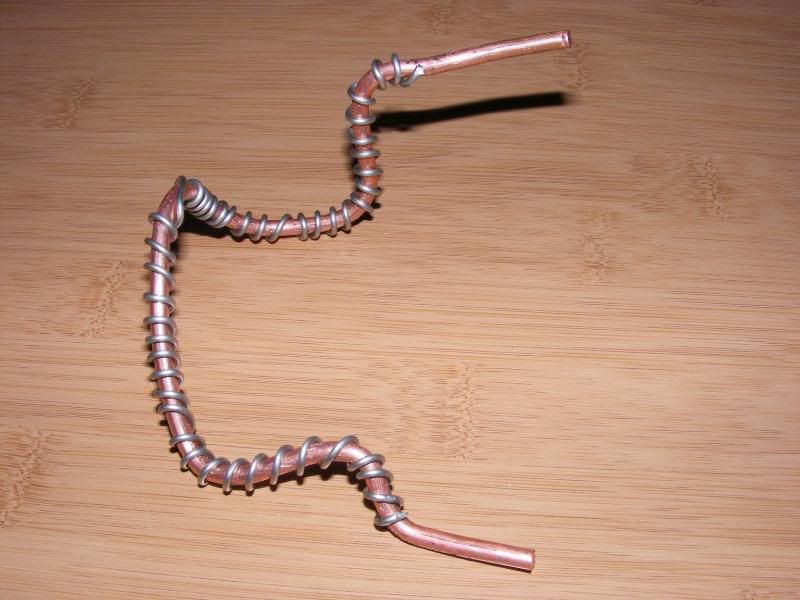
Well, to begin this I cut off a long strip of thick wire. After doing this I bend the wire into a C shape, each side acting as the legs. I will then tediously bend the wire in every which way to stand as the curvature of the legs. This can take a very long time if you are overly analytical like myself. It took me an entire day's work to finish this step if that gives you a rough idea.
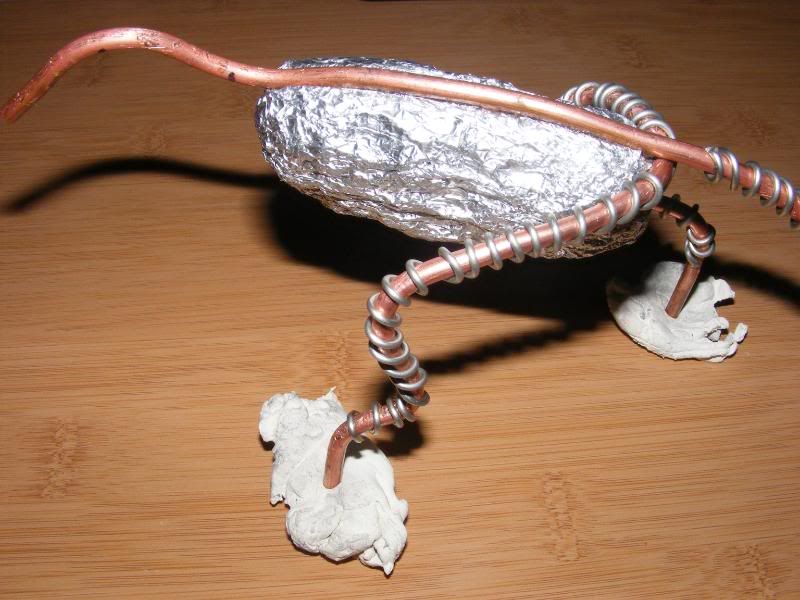
To finish the step off I wrap soldering wire all around the legs. This will give the clay something to bite onto.
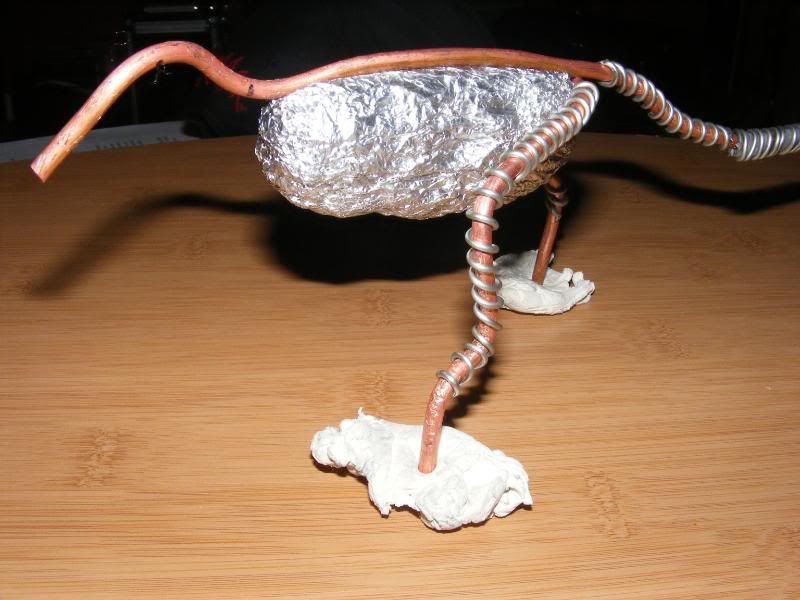
The material in this picture is only used to help hold the armature up.
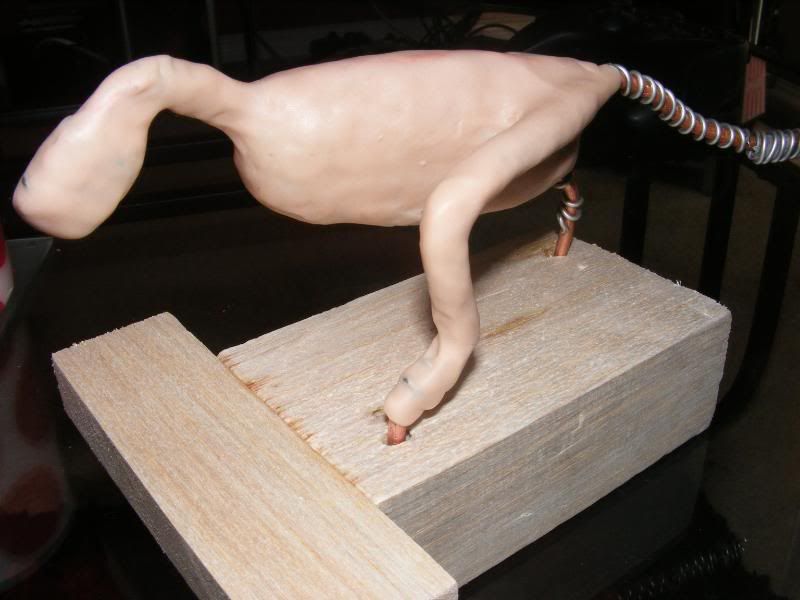
My favorite part: gluing the legs onto the rest of the armature. I used Super Glue for this step.
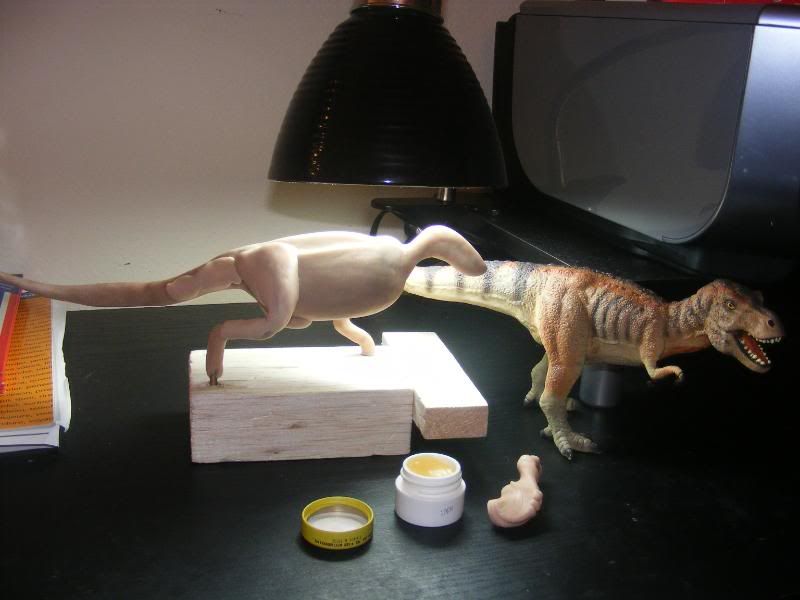
And voila, my progress as of thus far.

I will also try to explain the steps I have used to create this armature.
To start off this armature (which is quite different from Dinonikes; not to mention more time consuming and frustrating), I have cut a roll of brass wire down to 11 inches. This thick wire is much too large to continue on to the the tip of the tail, so I then cut 3 inches of thinner wire. Overlapping the thicker wire by 1 inch, I tie the thinner wire to the thicker by using soldering wire. (This means 2 inches of the thinner wire is hanging off, making the length of the armature 13 inches.)
I use a skeletal representation for reference.
Now, I begin bending the wire into the desired shape. After doing this, I roll up a large ball of aluminum foil and super glue it to the wire. It will act as the bulk of the Tyrannosaur's gullet and chest. You can also use soldering wire to attach it.
On to the most frustrating step of the armature: creating the legs.
Well, to begin this I cut off a long strip of thick wire. After doing this I bend the wire into a C shape, each side acting as the legs. I will then tediously bend the wire in every which way to stand as the curvature of the legs. This can take a very long time if you are overly analytical like myself. It took me an entire day's work to finish this step if that gives you a rough idea.
To finish the step off I wrap soldering wire all around the legs. This will give the clay something to bite onto.
The material in this picture is only used to help hold the armature up.
My favorite part: gluing the legs onto the rest of the armature. I used Super Glue for this step.
And voila, my progress as of thus far.


![[][][]cordylus[][][] Avatar](http://files.sharenator.com/Troll_Face_U_MAD_RE_wrestling_1-s407x405-126802.jpg)